A fresh coat of paint can hide a damp wall for a viewing. It cannot stop moisture from damaging timber, weakening finishes, corroding metal, or inflating a renovation budget. This home moisture inspection checklist is designed for buyers, owners, and investors in Portugal who need to separate a cosmetic issue from a building risk before committing money.
Moisture is not one defect with one solution. A dark patch may come from a roof leak, failed plumbing, poor drainage, rising damp, condensation, or a combination of these. The visible mark is evidence, not a diagnosis. Start by observing the property systematically, then use the findings to decide whether specialist testing, repairs, or a wider renovation plan is needed.
Start Outside: Where Water Meets the Building
Most moisture investigations should begin outside. Water that is not controlled at roof level or ground level will eventually find a route into the structure.
Walk slowly around every elevation and look at the lower sections of the walls, corners, window openings, balconies, and roof edges. Note where ground levels sit against the building. In older Portuguese homes, exterior paving, garden soil, or rendered finishes are often built up too high against walls, reducing the wall’s ability to dry and bridging any damp-proof protection that may exist.
Check these exterior conditions:
- Broken, slipped, cracked, or missing roof tiles, especially around chimneys, valleys, skylights, and changes in roof level.
- Gutters, downpipes, and drain outlets that are blocked, disconnected, undersized, or discharging against the wall base.
- Cracked render, open mortar joints, failed sealant around windows, and deteriorated flashing.
- Balconies, terraces, and flat roofs with ponding water, failed joints, loose finishes, or poor falls toward drainage points.
- Exterior ground that slopes toward the house, standing water near walls, or vegetation holding moisture against the facade.
Do not assume a tiled roof is sound because it looks complete from the street. Underlying membranes, flashings, battens, valleys, and chimney junctions are frequent failure points. A drone roof inspection can reveal defects that cannot be assessed safely from ground level, while an attic inspection may show whether water has already entered the roof structure.
Home Moisture Inspection Checklist: Room by Room
Inside, inspect every room, not only the areas that appear damaged. Moisture can travel through cavities, along structural members, and beneath finishes. Compare rooms on different sides of the building, particularly north-facing rooms, bathrooms, kitchens, basements, and spaces directly below terraces or roofs.
Walls, ceilings, and floors
Look for staining, blistered paint, peeling finishes, bubbling plaster, salt deposits, mold growth, and soft or crumbling wall surfaces. A horizontal band of deterioration close to floor level can suggest rising damp, but it can also result from leaking pipes, external ground bridging, or moisture trapped by impermeable cement render. Diagnosis depends on the full pattern, not one visual sign.
Ceiling stains beneath a roof, terrace, bathroom, or water tank deserve close attention. Ask whether the stain changes after rain or after showers are used. A dry-looking stain may be historic, but only investigation can confirm whether the source has been repaired.
On ground floors, pay attention to cold, musty rooms and skirting boards that are swollen, loose, or decayed. Timber flooring that feels uneven or bouncy can indicate moisture-related deterioration below. In a property with suspended floors, access to the void below is valuable because damp soil, poor ventilation, and leaking pipework may not be visible from above.
Windows, doors, and ventilation
Condensation is common in homes with limited ventilation, single-glazed windows, thermal bridges, or intermittent heating. Water droplets on glass alone do not prove a serious building defect. Persistent black mold around window reveals, behind furniture, inside wardrobes, or in room corners indicates that humidity and surface temperatures need attention.
Open windows and doors where possible. Check whether they close properly, whether seals are intact, and whether there are signs of water ingress around frames. In coastal areas, wind-driven rain can expose defects around openings that are not obvious during dry weather.
Also identify how each wet room is ventilated. An extractor fan that merely makes noise is not necessarily extracting air outside. Bathrooms without a window or effective mechanical extraction require a more careful condensation assessment, particularly if they adjoin bedrooms or internal corridors.
Kitchens, bathrooms, and plumbing routes
Run taps, flush toilets, and inspect under sinks. Look for corrosion on valves, swollen cabinet bases, staining around waste pipes, loose toilet bases, and failed silicone seals around showers and tubs. Small plumbing leaks often remain hidden until cabinetry, partitions, or floor finishes are affected.
Ask where water heaters, pressure pumps, tanks, and main shutoff valves are located. In some Portuguese properties, tanks and pipework are installed on roofs, in utility rooms, or in enclosed exterior spaces. A leak from these systems can travel a considerable distance before becoming visible inside.
If the property is vacant, be cautious. A home that has been closed for months may smell musty simply because it has not been ventilated. It may also conceal an active plumbing leak that was not apparent during a short viewing. Turn on fixtures and allow time for drains and supply lines to respond.
Use Moisture Readings Correctly
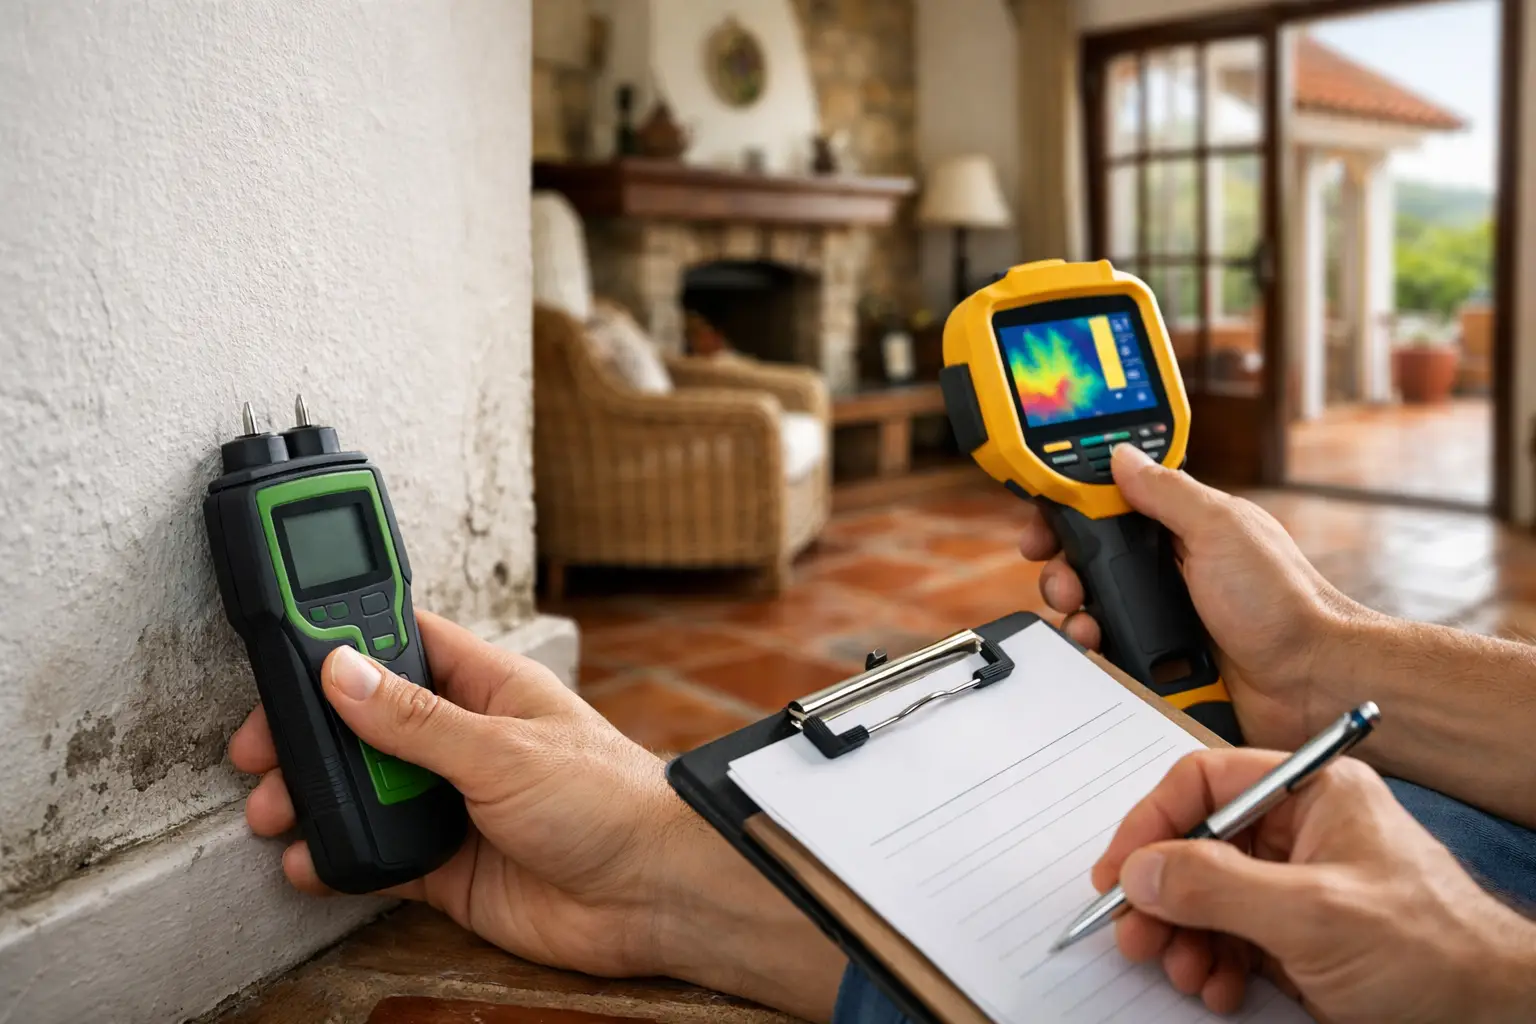
A handheld moisture meter is useful for locating areas that deserve attention, but it does not provide a final diagnosis on its own. Readings can be affected by salts, metal, dense masonry, surface finishes, and the meter setting. This matters in older stone, brick, and rendered buildings, where high readings may be caused by conductive salts rather than active water.
Take comparative readings. Test a visibly affected area, then test nearby areas at the same height and on similar materials. Record the location, height from the floor, surface condition, and date. A pattern is more useful than a single number.
Thermal imaging can help identify cold areas, potential thermal bridges, and anomalies associated with moisture. It is most effective when conditions allow meaningful temperature differences between inside and outside. It should be interpreted alongside visual inspection and moisture measurements, not treated as proof of a leak by itself.
Ask Questions That Change the Decision
A property seller or agent may describe a damp issue as “old,” “normal for the area,” or “easily fixed.” Ask for specifics. When did it first appear? Does it worsen after rain? Has the roof, terrace waterproofing, plumbing, or exterior drainage been repaired? Are there invoices, photographs, or warranties for the work?
Also ask about previous flooding, recurring roof leaks, water supply interruptions, and the age of any waterproofing system. Flat roofs and terraces can look acceptable while membranes below the surface are near the end of their service life. If a property has recently been repainted in isolated areas, establish what was repaired before assuming the matter is resolved.
For buyers, the key question is not whether moisture exists. Many buildings have some level of moisture-related maintenance need. The question is whether the source is understood, whether the affected materials have been properly assessed, and whether the repair scope is proportionate to the purchase and renovation plan.
Know When a Specialist Assessment Is Needed
Arrange a more detailed inspection when there is widespread mold, repeated staining, a musty odor across several rooms, roof access limitations, signs of timber decay, or uncertainty about whether moisture is active. The same applies when you are planning major renovation work. Opening walls, replacing floors, or insulating a building without understanding its moisture behavior can trap water where the structure previously had a chance to dry.
An independent property health check should connect the evidence to practical decisions: likely moisture source, affected building elements, urgency, further investigations, repair options, and budget implications. At Quantum EcoBuild, the focus is on facts, not assumptions, so clients can distinguish immediate risk from planned maintenance.
Do not let a clean interior finish close the investigation. A well-informed moisture assessment gives you something more useful than reassurance: a clear basis for negotiating, planning repairs, and protecting the property over time.
Leave a Reply